Showing posts with label Freaky Friends. Show all posts

Friday, October 31, 2014

Happy Halloween Freaky Friends!!!

 
Happy Halloween and thanks for stopping by!  Today over at Stylin' Stampin' INKspiration, we are celebrating Halloween!  Some design team members may have tricks and some may have treats!  May sure you stop by to visit each to see which they have!
 
Today my project is a treat!  I made these cute little twisted cards, perfect for sliding a gift card or some cash inside.  I have two boys who love I-Tunes for their music and games.  Therefore they each will be getting an I-Tunes gift card in their pocket with a burlap treat bag filled with some candy treats (courteous of My Paper Pumpkin September kit!)


Supplies Used
Cardstock ~ basic black, whisper white, Bermuda bay, tangerine tango
Ink ~ basic black, tangerine tango, Bermuda bay
Stamp set ~ freaky friends, ghoulish greetings
DSP ~ motley monsters
Misc. apothecary accents framelit set, crushed curry bakers twine, wiggle eyes (retired), decorative label punch

Sunday, October 26, 2014

Halloween Challenge CYCI#42

Thanks for joining me here today at Ink a Doodle Creations.  Today I am over at Can You Case It? and this weeks challenge is a Halloween one!  Did I say, I love Halloween?  Its such a fun holiday and its the one day I eat as much chocolate and candy as I want, and don't feel bad!!
 
 
This fun little spooky card was created using the inky block technique.  I also went with a different sized card.  I cut out my rectangle shapes, rounded the corners and inked up my blocks, spritzed with a little bit of water and stamped it on.  I used colors of tangerine tango, old olive and rich razzleberry.  Directions for this card are below.
 
 
On the inside, I inked up a layer and added a bat.
 
Directions:
card base is a 6-1/2" square.  I scored it at 3-1/4" and folded.
Inked layers measure: 1-3/4" x 2-1/4" with corners rounded.
 
Supplies Used
Cardstock ~ very vanilla, old olive
Ink ~ tangerine tango, old olive, rich razzleberry, basic black
Stamp set ~ freaky monsters, good greetings
Misc. ~ brights candy dots, black bakers twine
 

Friday, October 3, 2014

Halloween Envelope Punch Board Treat Bag with Tutorial!

 
Good morning, its Friday, Friday, Friday!  Yesterday I sharing my Halloween card created using the Bootiful Occasions stamp set.  Today over at Stylin' Stampin' INKspiration, I am sharing this cute little candy box I made using the envelope punch board and some simple scoring.

 
I love being able to create my own little candy treat holders.  I love even better when I can use tools that I already own to make it easier.  That's where the handy dandy envelope punch board comes in hand.  With some simple score lines to get the box, I added a couple quick punches with the board to make it easier to close up.  Plus its just cute and who doesn't love ca-ute!!  The tag is created using the new note tag punch, freaky friends stamp set and a couple cute banners, then tied on using the new tangerine tango two tone rope twine.

 
Even though this is a small treat holder, don't under  estimate how much candy you can fit inside.  This little treat bag is perfect for simple teacher favors, to give to your child's school friends or co-works.  Whats even better, is that it doesn't take much paper and its a great way to use up that DSP stash.  YES, we know you have one!!!
 
Would you like to create your own now?  Follow these simple instructions and get started.
Above supplies you will need. Use choice of cardstock or DSP and cut to 8-1/2" x 5"

Score one the long side at 1/2", 2", 4-1/2", 6"

score on the short size at 1"

cut the tabs along the bottom up to the 1" score line and remove the smallest tab on the right.  these tabs folded up create the bottom of the box.

fold the 1/2" tab over and line up at the 1" line using the envelope board and then punch.

fold the paper on the next score line and once again line up with the 1" line and punch. 

you will fold on each line and punch until your paper looks like the above picture.

I would suggest using either redline or fast fuse adhesive to hold your box together depending on what kind of candy or item you would like to place inside.  place adhesive along the 1/2" tab as shown.

flip cardstock over and place another piece of adhesive along the third tab to close the box bottom together once folded in.

once you have folded up box this is what you end up with.  If you wish to stamp on the box, I would do so before closing it up.
 
 
Supplies Used
Cardstock ~ basic black, whisper white
Ink ~ Bermuda bay, basic black, tangerine tango, crushed curry (markers)
Stamp sets ~ freaky friends, ghoulish greetings
DSP ~  motley monsters
Misc. ~ note tag punch, tangerine tango two tone rope twine, Bermuda bay bakers twine, basic rhinestones, banner punch

Thursday, September 25, 2014

Tag Punch Mini Album and Tutorial

Good morning!  Today I am over at Stylin' Stampin' INKspiration sharing a cute mini photo album, along with the tutorial on how to recreate it.  You won't get the instructions here.  Click the SSINK link above to head on over to our main design team blog to get all the details!!

Friday, August 29, 2014

Witches Brew with PCCCS107

Good mornings, its Friday, Friday, Friday!!!  This is going to be one busy weekend, so lets gets started.  Todays challenge card is for the sketch over at The Paper Craft Crew.  Yesterday started the shopping frizzy from the new Stampin' Up! Holiday Mini catalog.  So in honor of this wonderful and exiting catalog, my card is showcasing a couple items from it.  Halloween is one of my favorite holidays and this set is just perfect for all my freakly little friends!

 
I used the Motley Monsters DSP pack, and love how you can use it for just bright colored backgrounds or use with the bold monster patterns it has. I used the striped scallop thinlit, cut it in two pieces and layered them to look like a spiderweb.
 

For my witch, I used my basic pens and colored her in.  For the bat I added a couple really small google eyes and a old olive colored pearl to put on the witches nose for a wort...Eeewww Gross!!!!
 
Supplies Used
Cardstock ~ basic black, whisper white, crushed curry
Ink ~ basic black
Markers ~ crushed curry, tangerine tango, old olive
Blendabilities ~ old olive
DSP ~ Motley Monsters
Stamp Set ~ Freaky Friends and Ghoulish Greetings
Misc. ~ oval framlet set, striped scallop thinlin, basic pearls and rhinestones, silver and black 1/8" taf. ribbon, modern label punch
 
All these items and more can be purchased HERE!
 
I hope you have enjoyed my freaky friends challenge card.  Leave some "love" and don't forget to come back Monday to see what color challenge for Stylin' Stampin' INKspiration!
 

Thursday, August 28, 2014

Freaky Little Friends Holiday Catalog Showcase!!

 
Good morning and welcome to Ink a Doodle Creations!  Today the design team members over Stylin' Stampin' INKspiration are sharing fun projects made with all new items from the new Stampin' Up! Holiday Mini catalog.  Lets just say, you are gonna love this catalog, I already own about one each of everything....my poor checkbook is so mad at me right now!!

 
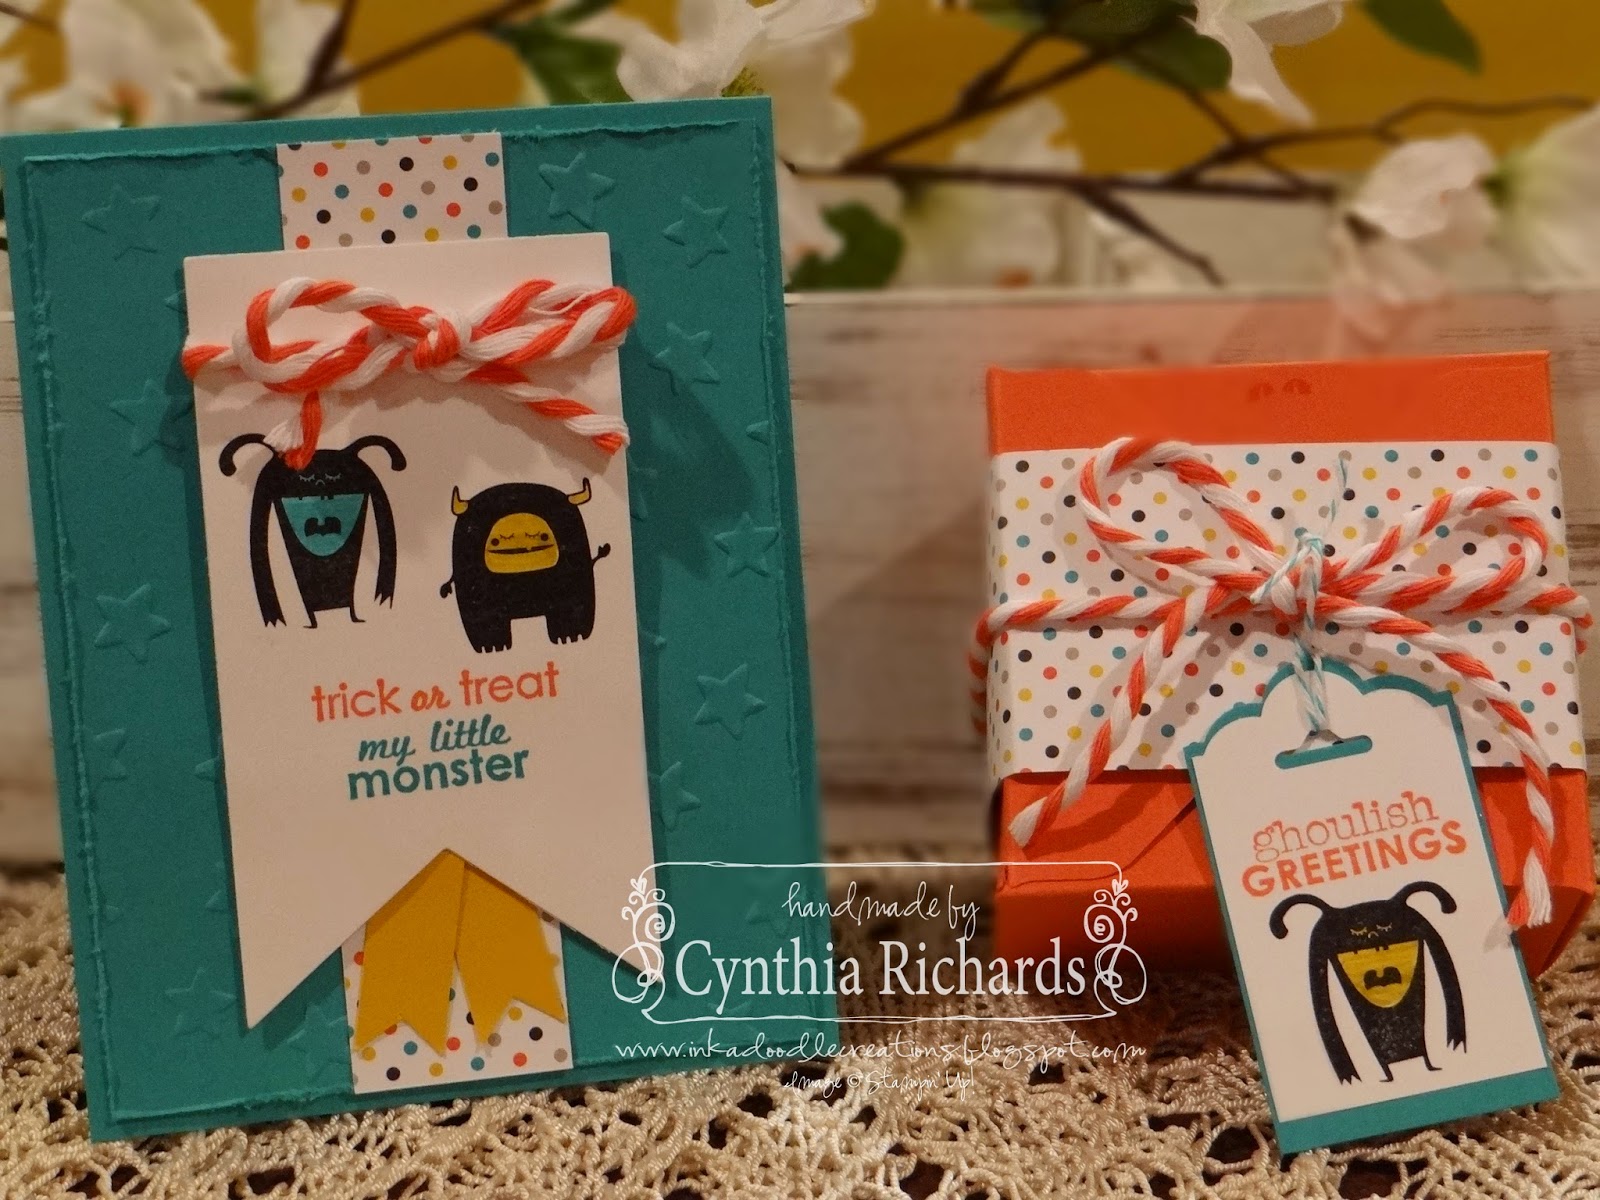
One of my favorite holidays is Halloween.  Next to Christmas, its my favorite one for decorating my home, making cute and fun projects and who doesn't love the yummy chocolate candy you get!!  I decided to create with one of the new Halloween stamp sets called, "Freaky Friends" and coordinating DSP pack, Motley Monsters.  This set is just full of cute little monsters! 

 
The layout of my card is really simple so I'm not gonna explain in detail how its put together, but I will say I used three more new items from the mini on this card.  Can you guess what they are?!  Ok, times up!  #1-ghoulish greetings stamp set, #2-white/tangerine tango two tine trim, #3-lucky stars embossing folder.

 
Now time for this cute little box.  Wonna know how I made it?  Of course you do!  You know that ever so needed, awesome, terrific envelope punch board we have?  Well we now have another ever so needed, awesome and terrific box making punch board!!!  This box started out as a 8"x8" piece of paper and now its transformed into this cute 2-1/4"x2-1/4"x1-3/4".  I stamped the box with the spooky eyes from the same stamp set and wrapped a band around the box with the same matching DSP.  I wrapped and tied a bow using again the same twist trim and attached a tag I created.  I plan to create another card and box, and fill each with my sons favorite chocolates and their Halloween treats are finished!!!
 
If you would like to get your hands on the new Stampin' Up! Holiday Mini catalog, please contact me thru email and I will be glad to send one out to you.  In the mean time, you can click on the catalog link to the right of my blog page and start browsing today!  If you would like to go ahead and place an order, click HERE and use Hostess Code: during checkout.   For each $25 online order, I will send you a special goodie bag in the mail!!
 
Supplies Used
 
 
I hope you have enjoyed my fun projects using the new stamp set, "Freaky Friends".  Leave some "love" and go check out the other projects our design team members have created to share!