Tuesday, February 28, 2012

March Stamp Club Projects-Easter!!

 For our March stamp club, we will be making these cute Easter 3-d items.  This class is a punch art class.  I thought it would be good to show how you can make so many different things just by using punches.  One is a duck attached to a plastic bag (you can put treats inside) and the second is a chocolate bunny basket!  We will rotate each month with what kind of project we make, (card, scrapbook page or 3-d item)
 I make a scrapbook page to show how you can also use the same kind of punches to create again a bunny/duck to complete a page as well.  This page will go to the hostess for the month of March!
This is the card, again using the same kind of punches to create this cute little bunny.  This card will also go to the hostess for March!

Monday, February 27, 2012

Sunflower Birthday

I am in the mood for side step cards today, just can't get enough of them.  They are so easy and fun to create with!  This card is for http://www.thepaperplayers.blogspot.com/, sketch challenge #84.  Head on over and check it out.  They have a fun sketch for you to try.  I did mine a little different.  I did however keep three objects down the middle and my sentiment at the bottom.  I would love to hear your comments on this card!

Stampin' Up Items used:
*  cardstock colors of:  rich razzleberry, very vanilla, daff. delight, early espresso
*  daisies die for the bigshot
*  bird punch for the branch
*  1/2" and the 3/4" circle punch for the center of flowers
*  pumpkin pie ink to ink the center of each daisy

Mojo Monday 230-St. Patrick's Day


Good day bloggers!  I have not played http://www.mojomonday.blogspot.com/ in a long while, so thought I would give it a shot this week.  I do not make many st. patrick's day cards, and again wanted to try something new. 

I made a side step card and decked it out in green of course!  I also used a piece from the Everyday Enchantement DSP in the Sale-a-bration Catalog.  I used the smallest heart from the heart to heart punch to make the little shamrocks and of course tied it all together with a cute little bow.

I would love to hear your comments and what you think of my creation for Mojo Monday!!

Stampin' Up Supplies used:
-  cardstock of:  garden green, whisper white, early espresso, certainly celery
-  punches of: heart to heart, bird punch for the branch
-  certainly celery 1/8" ribbon
-  Everyday Enchantement DSP
-  Teeny Tiny Wishes Stamp set

Tuesday, February 21, 2012

Hostess Wish List Holder

 I posted this creation on Stampin Connection earlier today for a contest entry.  I thought I would share it on my blog too.  I have had a few ladies wanting more details on how I made it, so the measurements are listed at the end of this blog.  I like creating holders for things such as sticky note pags and such, so I thought, why not create a nice holder for the wish lists that stampin up puts out there for us demos to use.  My plan is to give these away to each months hostess so that they can put put together and have in one location a list of the items they would like to have.  I also plan to decorate the outside using fun new items that are out now or as a preview of things to come.  This one is decorated using the enchantment dsp from the saleabration catalog, the new mixed bunch stamp set and the blossom punch that goes with it. 
This is the inside, which I hole punched 10 sheets of the list and tied them together at the top with a piece of ribbon.  I wanted to make my pen cute and match, but I did not have any of the pens that I could remove the stopper piece.

Now for the Measurements:
*  cut "Wish List" to measure 3-1/2"w x 8-1/4"L
*  cut a piece of cardstock to measure 8-1/2"L x 8"w
*  score the cardstock on the long side at 3-3/4" and 4-1/4"
*  fold on the second score line and put a tick mark along the side at 4" and 4-1/2"
(I hope that mark makes since)
*  use scissors to cut on those marks and cut to the first score line.
(this is what makes the piece that holds the pen on the inside.
*  push the cut piece to the inside
*  decorate the front as you wish
*  attach the "wish list" to the inside and tie with ribbon or brads (again use what you like)

If you don't understand something, please email me and ask, I will be glad to help!

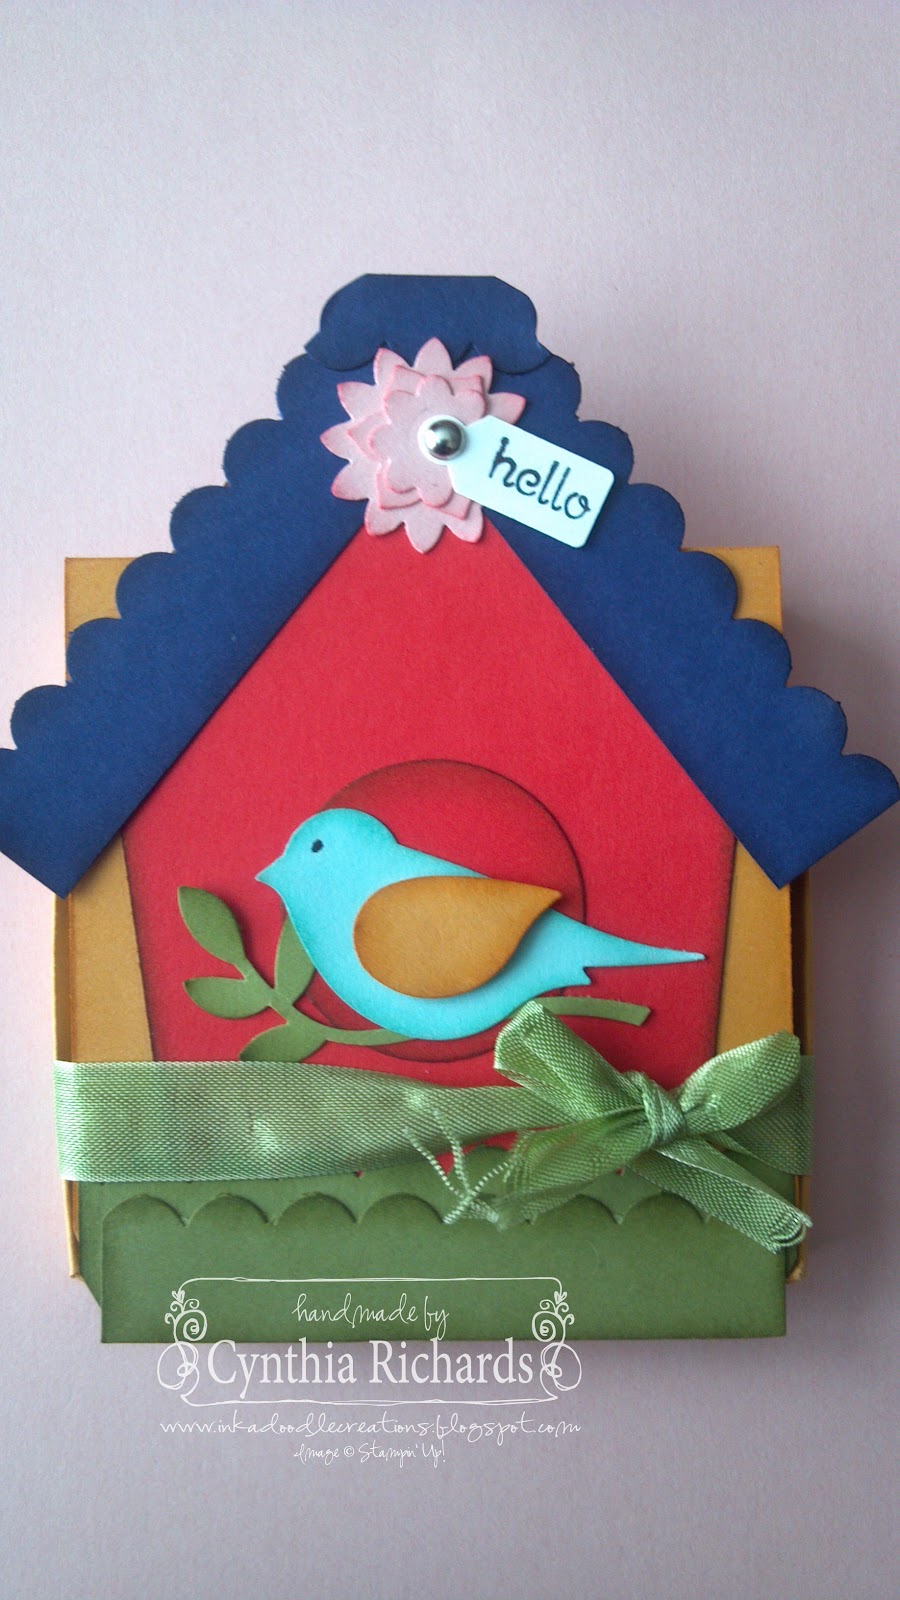
Bird House Sticky Note Holder

 I saw this idea a while back and not sure where it came from (if you know let me know)  I did however change it up.  My version only holds the sticky notes.  I also changed mine, so that the birdhouse lid lays flat down and you can tie it shut with a bow.
 This is what it looks like up close of the birdhouse.
This is a side shot of it when the lid is down and it is tied shut with the ribbon.

Directions:
1.)  Click link to print, http://www.scribd.com/doc/82465087/Birdhouse-Sticky-Note-Holder
Birdhouse Sticky Note Holder

2.)  Click this link or the downloan button at the bottom of the instructions.
http://www.scribd.com/doc/82466143/Birdhouse-Easel-Holder-Instructions