
First lets start with how and where I store my 12" x 12" sheets of cardstock and matching 8-1/2" x 11". I bought these shelving units off of Amazon a few years ago and they work great for me. They are sturdy and have a solid shelf so your paper does not get a bent corner when sliding in and out.

I used to keep my cardstock together by color family, but then it got to be to time consuming to search for a particular color. Example: I need a red, I would have to look in 4 areas. So now I keep all of one color together. Example: reds, yellows, greens, etc... You can see this in the below picture. I use a 12" piece of cardboard (recycled too. These come from my scrapbook page packs I use from Creative Memories or just misc. cardboard that I get my hands on. I punch out a label and write the color on it and staple it to the cardboard. Nothing fancy, but it works for me.

So lets look at one color and focus on it. Lets pick my favorite green, "old olive"!!! On one shelf, I keep on the bottom the cardboard, my 12" cardstock then my pack of 8-1/2"x11". Then on top I have file folder, labeled with a sample and the name of the color of cardstock. The folder holds large pieces of scraps. This is seen below.

So I am not one to waste my cardstock. I spend my hard earned $ on buying or earning it, and I want it to last. In the folder is large scraps.

Now for my small scraps, I do something a little different. This is the system that I have changed several times trying to get a system that worked. I used to use binders with plastic sleeves but it got to big and bulky and I never went to it, cause it wasn't small and handy when I needed a small piece. I found that I was getting a whole new sheet, when I didn't need it. This, I have been using for almost 3 years and it works for me. Having it right in front of me, helps me not go get a new sheet when I just need something small. Example: I stamped a small sentiment and I'm gonna punch it out, or I need to punch out circles. Its just a plastic draw organizer basket that I picked up at my local Dollar Store, Family Dollar, Dollar Tree or even a Walmart has them.

I use letter sized envelopes to hold each color. Example: yellows, greens, blues, etc... whisper white and very vanilla is always in the front, cause I tend to go for them more often for sentiments. Now I just hand write off to the size the shades of yellow. I am usually pretty good at knowing a paper color when I look at it, but its there as a quick reference just in case I haven't had enough coffee!!!

When I see that my folder is getting over run with to small a pieces, I do clean it out about once every couple of months, but I don't keep but so small of a piece anyway. This system has really saved me on wasting whole sheets of paper. I always go to my basket first if I need a small scrap piece and then to my folder if I need something a little larger before ever going to get a new whole sheet.
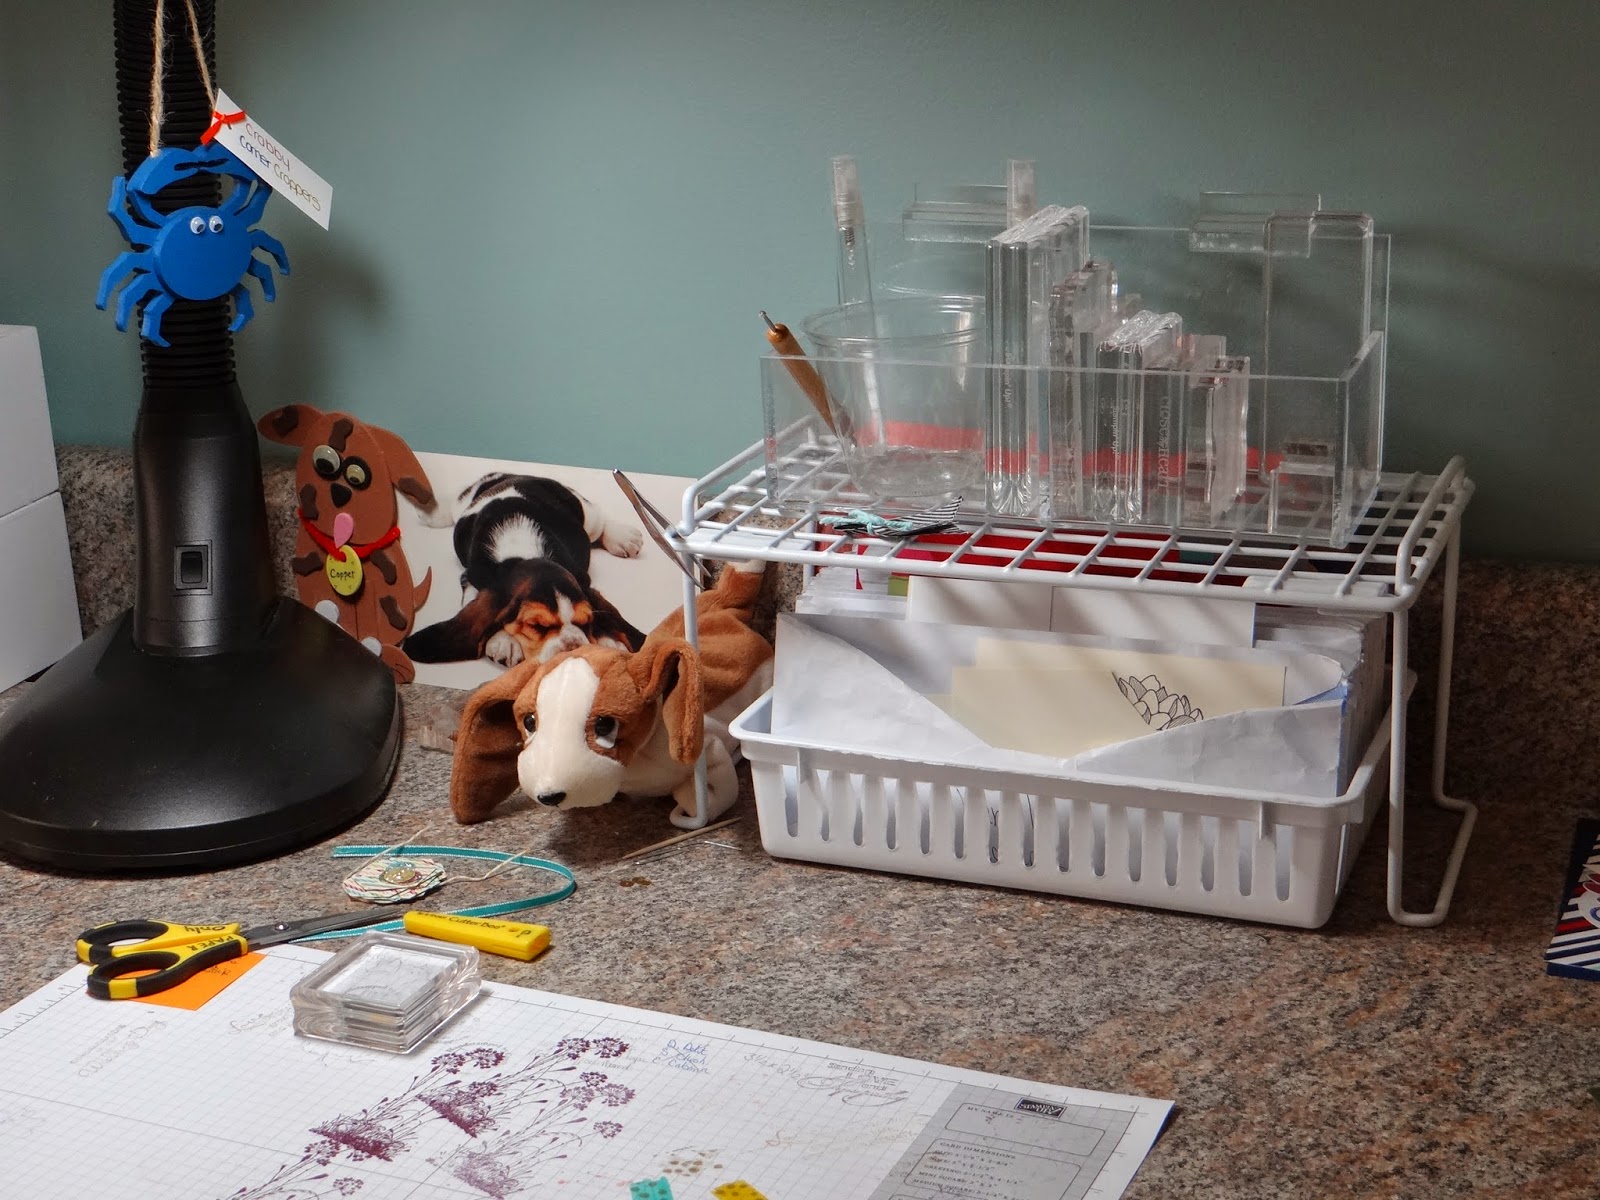
I keep my small scrap basket right in front of my work area. It sits under a wire shelf so its out of the way, but can slide it right out when I need a small piece.
I hope by sharing my way of organizing my paper, it helps you to work on and get your over run paper stash organized. Cause "organization" is my middle name and I LOVE it!!!
2 comments :
Great Ideas! I have a stack of scraps that I need to file away!
Post a Comment